Garden Update - May 2018 - Transplanting Inground
Things started picking up in early May. With the sudden heatwave, I madly rushed through the clearing and planting. In hindsight, it was necessary as we went to through a cold and wet spell for most of the rest of May. But, hey, at that time with 80-90F weather and blinding sun, I felt like the peak planting was passing me by.
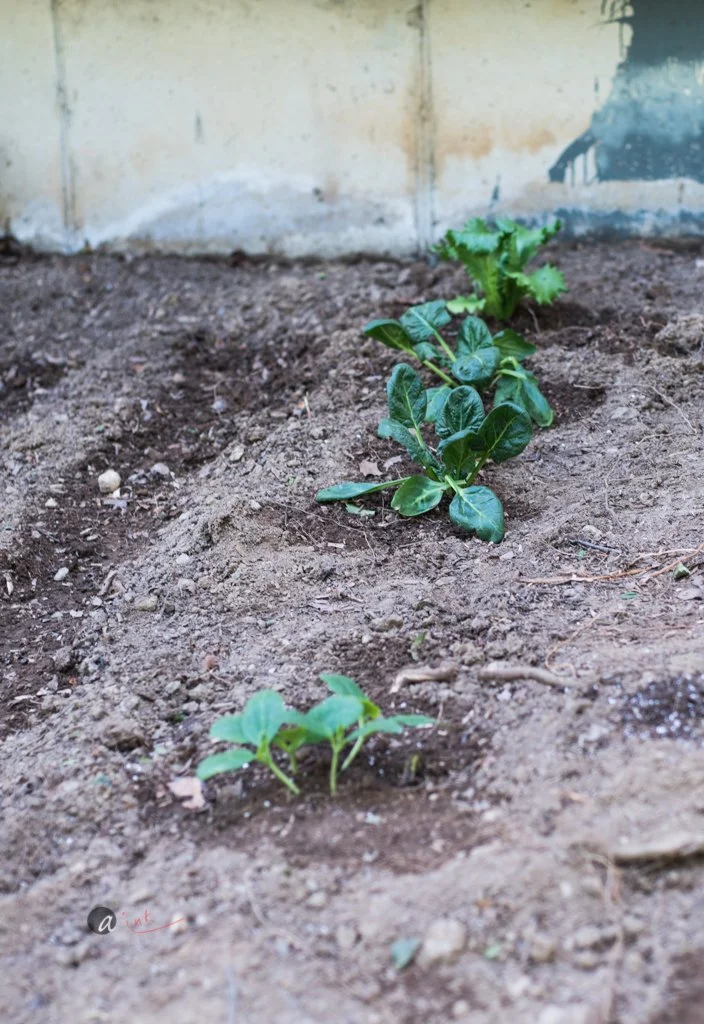
Fortunately, after a couple of days of weeding, the patch was good enough to plant and because it had been recently covered with plants, the weeding process also did a lot of the tilling needed to loosed and turn the soil for planting. At this stage, all I knew about the ground was
- It was workable
- At least 5 inches of the top soil was loosely packed, so I did not need to add more top soil
- It was fairly nutrient rich based on the prolific number of earthworms I encountered
- It had pretty good sun exposure
- There were bees and birds around that would help
What I did not know was the actual nutrient and pH level of the soil and therefore what could and would not grow well. I was not going to nerd out on actually calibrating these, so the only thing I could do was try by trial and error. That is more fun anyway! :) So, I made a rough plan of laying the patch, using some online resource (The old Farmers Almanac, Companion Planting Guide). It was not very difficult for my set of plants - Peas could not be with potatoes and so, I planted them on opposite sides of the patch and the rest could be interspersed. Also, they recommend night shade veggies not be planted next to each other. So, I separated the potatoes from the tomatoes and peppers with squash, spinach lettuce and thyme.
DIY PEA trellis
My pea seedlings had already grown fairly big, so they were the first to go in. They are a vine and while they don't necessarily need a trellis, it helps to provide some form of support if only to keep the plants from tangling together and for easier access to the pods. I picked up simple wood stakes for under $1 each from Home depot and then just tied strings between to make a climbing wall.


At this stage, I thought it was too late to start radish which is a cool weather crop but I just wanted to try. So, on the left most edge, which is the cooler side with a little shade from the lip of the retaining wall, I directly seeded radish in ground and watched them quickly sprout. It felt good (until events later, for next post!).
My own tomato and pepper seedlings were still scrawny. I left them out to harden a bit more before transplanting. This is better (as I found out), especially for tomatoes as their stems grow tall. So, when you transplant them, you can bury them deeper in ground, giving them the opportunity to grow steadier trunks and be more stable. The little hairs on the stem you see are all baby roots, so they will sprout out into full roots up to whatever height you plant them at.
---- Scroll down for more tips for transplanting ----
planting tips
1. Check out the companion planting guide for optimal layout.
2. For Tomatoes
Wait for your tomatoes to have 3rd -4th level of true leaves to plant in ground.
Bury the tomato plant 2/3rd of the height under soil to allow the stems to grow strong and thick.
Pile some mulch around the tomato stem to prevent water issues and retain water in the ground for the roots.
3. Use a cheap wooden stakes or wooden stems to make DIY vine supports. None of these plants are perennials and they need to be rotated around every year, so don't spend a lot on fancy supports.
4. As much as possible, work with moist soil. If the weather is hot and soil dry, wet it with a spray and leave it to rest for 15 or so minute before working it. Wet soil makes it easier to work as well protects the roots from a sudden dry thaw.
MANAGING SPACe
A LEARNING
When I first started out, I thought I had too few plants for the size of patch. So, I went and bought more. What I had not accounted for was the spacing needed between plants of the same variety and between different plant types. They are not uniform. For example, zucchini needs between 3 and 4 feet of distance between plants while a butternut squash would need 15 feet!!!!
Tomatoes need only 2 feet between each other but you need to keep the 4 ft distance from a neighboring squash.
Crowding plants is not a great idea much the thought of 'thinning' seedlings feels sad.
I tried my best to follow the recommended spacing but the patch just did not have enough space. So, I made a few compromises -
1. I took over an adjacent spot that was originally for flowers
2. I planted a few closer together as a test to see how bad it would go.
3. I did not plant all my seedlings, like these peas, that I simply ate in sandwiches! Atleast no waste of peas....!
MY TRUSTY TOOLS
They pulled more than their weight and have been really good at working the weeds and soil!


